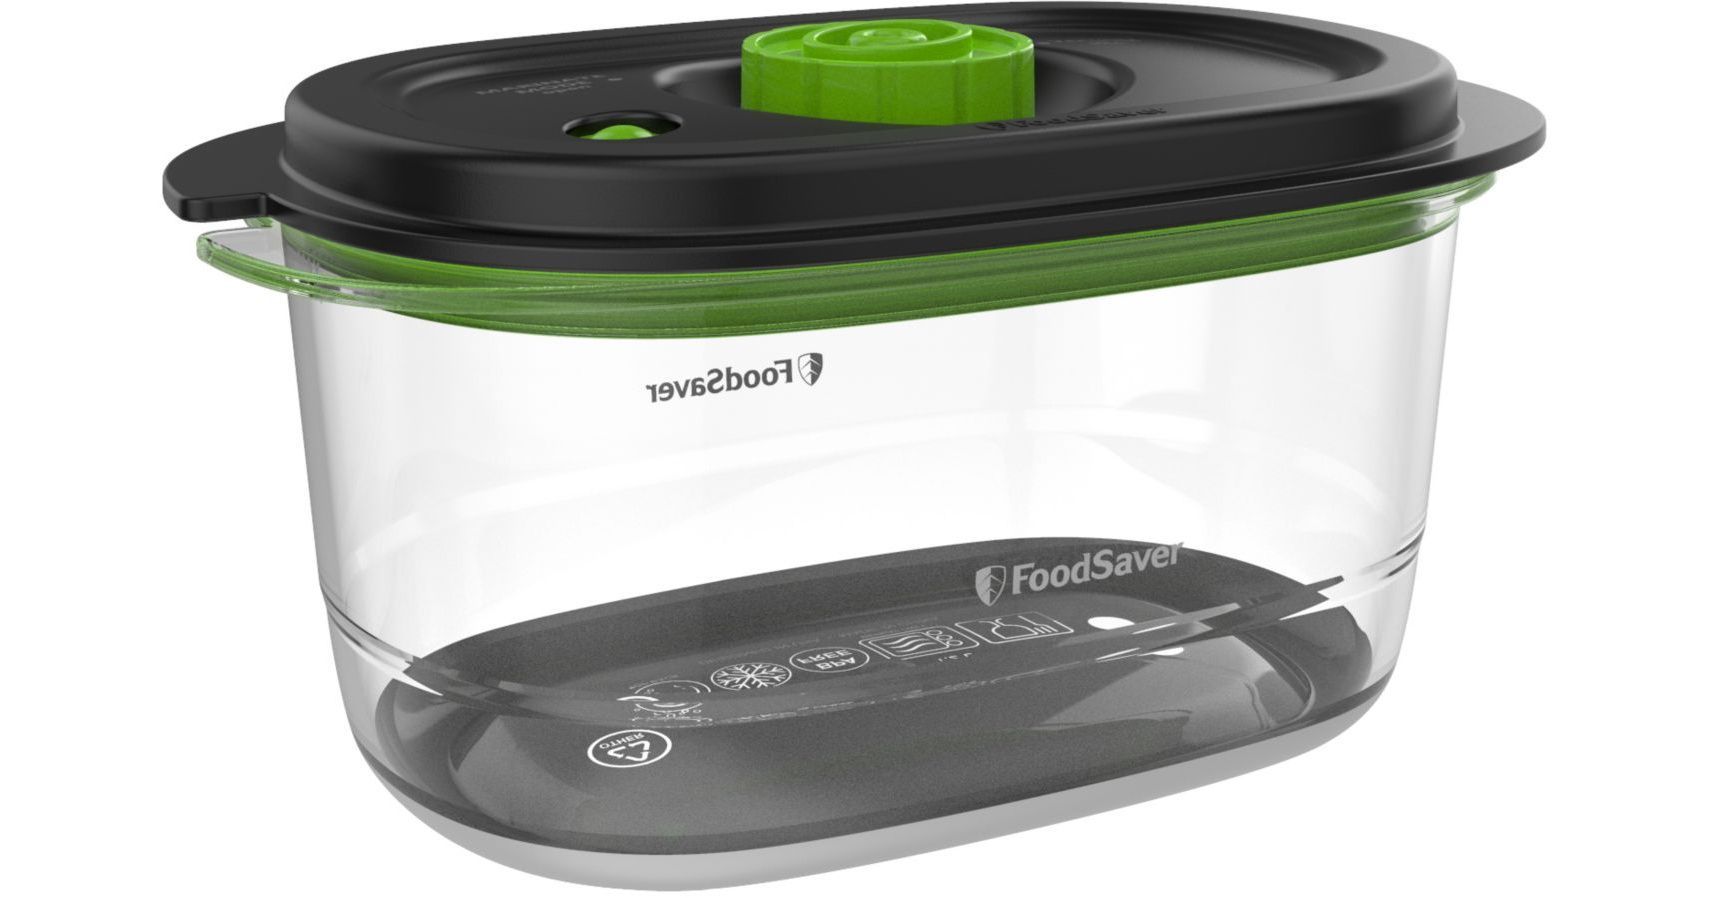
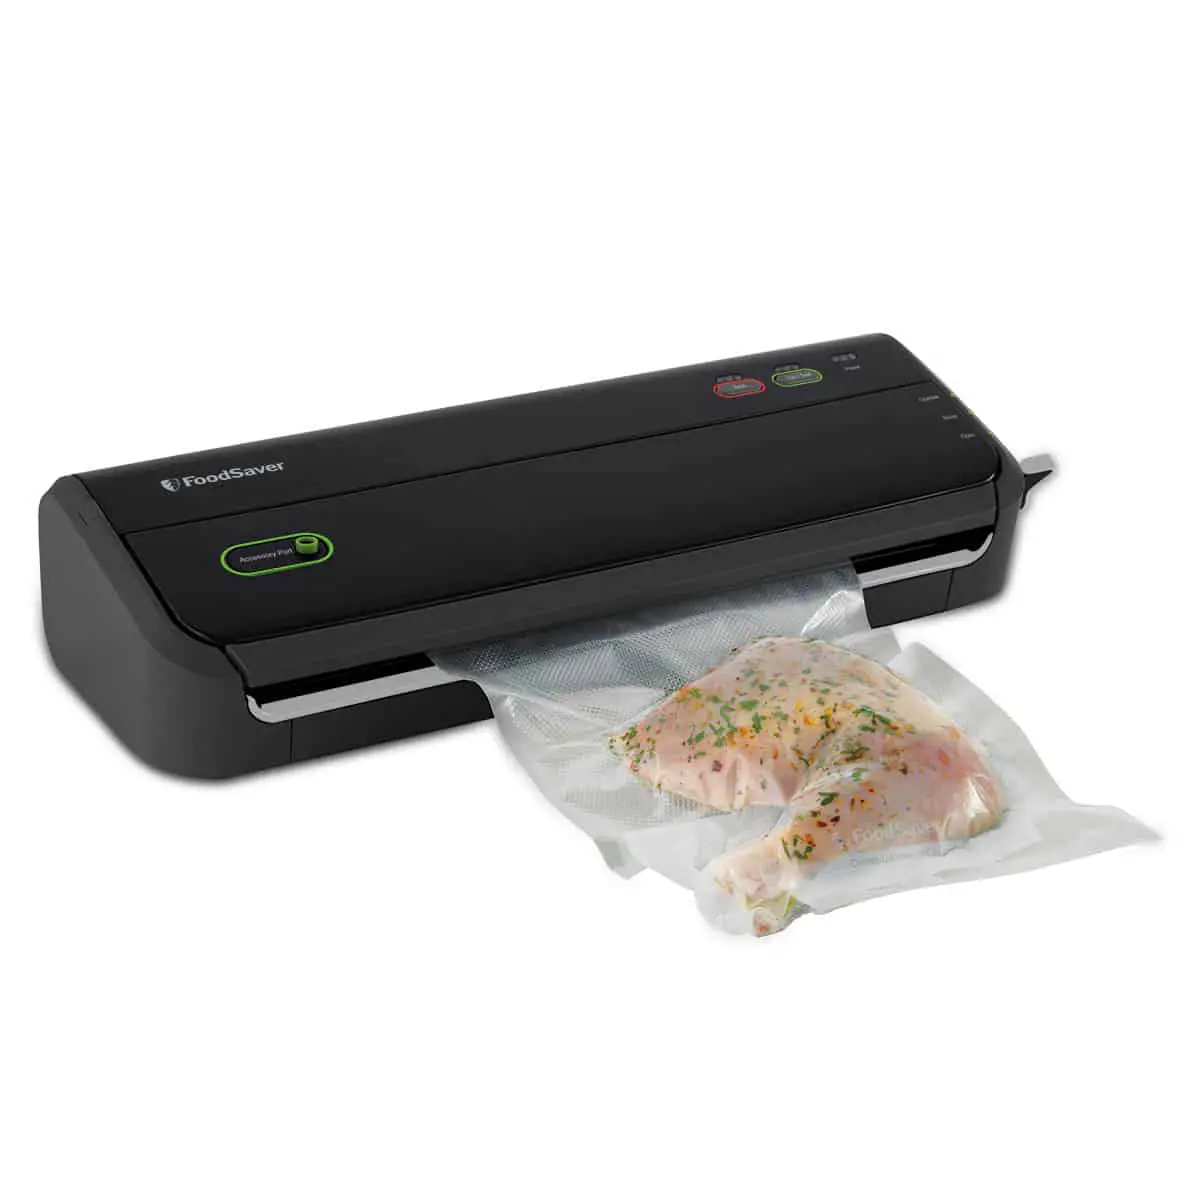
Cleaning your FoodSaver vacuum sealer is essential to preserving and storing food. If your sealer isn’t adequately cleaned, it won’t be as effective at sealing out air and moisture, which can lead to spoilage. Fortunately, cleaning your FoodSaver is easy and only takes a few simple steps.
Before you start cleaning your FoodSaver, you must ensure that all the removable parts are fully emptied and cleaned. Start by opening the tray or canister from any food particles or liquids and clean with a damp cloth or paper towel. Make sure to thoroughly dry any wet components before reassembling them.
The FoodSaver comes with several attachments, and you can purchase additional ones. They, too, will require cleaning at some point. I recommend washing the attachments in the same manner as cleaning the FoodSaver. When you doubt whether you can put a specific item in the dishwasher, it’s best to wash it by hand to be safe. Ensure that there’s no food left in any compartments by dismantling everything. Use warm, soapy water to clean any attachments, and make sure they’re dehydrated before putting them back in service.
Acknowledge the following steps to clean the food saver-
- Un plug the foodsaver
- Open the fron tof the foodsaver
- Press the grey release button & rotate the housing area away from the body
- Place the housing unit on the counter.
- Take out the Drip Tray.
- Next, you can remove the Bag Detection Tray.
- Use soap and warm water to wash all trays thoroughly. Then, you can place them inside the dishwasher on the top rack.
- When the trays are completely dry, put them back into the FoodSaver.
- Make sure that the Drip Tray is securely secured to its left side.
- Ensure the Foam Gasket is thoroughly inserted into the gasket channel region.
- Last but not least, it is crucial to ensure that the Upper Bag Tray fits into the device before using it again.

Once you’ve emptied the tray or canister, check the filter for any blockages. To do this, turn off the unit and remove the suction hose from the machine. The filter will be located just inside the suction port. Remove it carefully and inspect for any clogs, dirt buildup, or signs of wear. Replace it with a new one before re-installing and turning on the machine.

Next, you should empty any seal bags used to seal food items so they don’t get in the way of future uses of your FoodSaver unit. Finally, if possible (depending on your model), take apart the lid assembly and look for signs of corrosion or rust due to water exposure—which may require additional cleaning or replacement parts, depending on how severe the corrosion is—before reassembling everything again.
Once all these steps are complete, you can use your FoodSaver again without issues! As part of regular maintenance of your sealer, you should also regularly check for any signs of wear on components such as gaskets or O-rings as well as other seals which may need replacing if they become damaged over time – ensuring that you get optimal performance out of your machine each time you use it!
How Do I Reset My FoodSaver?
Unplug the machine > Clean the specific parts > Make sure the bag is dry > Change the gasket and insert the bag again.
Vacuums can get caught in an eternal vacuuming loop if the vacuum switch & line out become clogged or have moisture and dirt lodged in them. Open your FoodSaver slowly to avoid this. Ensure the screws on the circuit boards are not too tightened by cleaning the contacts with an electrical contact cleaner. Small brass discs that assist in stopping the suction can also be found. Never remove the FoodSaver without using safety goggles; always take safety measures. For further information, refer to the instruction manual.
Your FoodSaver responsibilities include drying and sealing the package. Bacteria thrive in damp conditions, making the food within more vulnerable. However, there are situations when the vacuum cannot remove all the moisture from a given area. As a result, use cotton or a little dry towel before entering the bag to remove any water. Line out now and make sure the drip tray isn’t overflowing.
Your primary means of storage is in the bag. Because of this, if there is any flaw, it will not effectively seal. For example, if the zipper bag has a hole, air from the outside can get in. Meanwhile, your vacuum will keep sucking up air, leading to an infinite cycle of vacuuming. Before inserting your zipper bag, it is free of creases or rips. Your FoodSaver’s gasket is the silicon ring that is put inside. A gasket’s lifetime is typically one year. It would help if you then replaced it. The sealer only works because of the gasket. If your FoodSaver is broken, it can not be vacuumed or turned on.
You must correctly insert the FoodSaver’s mouth into the bag. Moisture and air from the outside can enter via even the tiniest cracks, causing havoc with the entire process. Next, you should insert the zipper bag correctly. The steps above should help you determine what’s wrong with your FoodSaver. Finally, turn on your FoodSaver and see whether it automatically stops vacuuming & begins sealing once you’ve done it.
- How Many Tablespoons is One Clove of Garlic? - June 26, 2024
- How to Measure 3/4 Cup When You Don’t Have the Right Measuring Cup? - June 6, 2024
- How Much Does Cooked Pasta Weight Compare To Dry? - April 30, 2024
